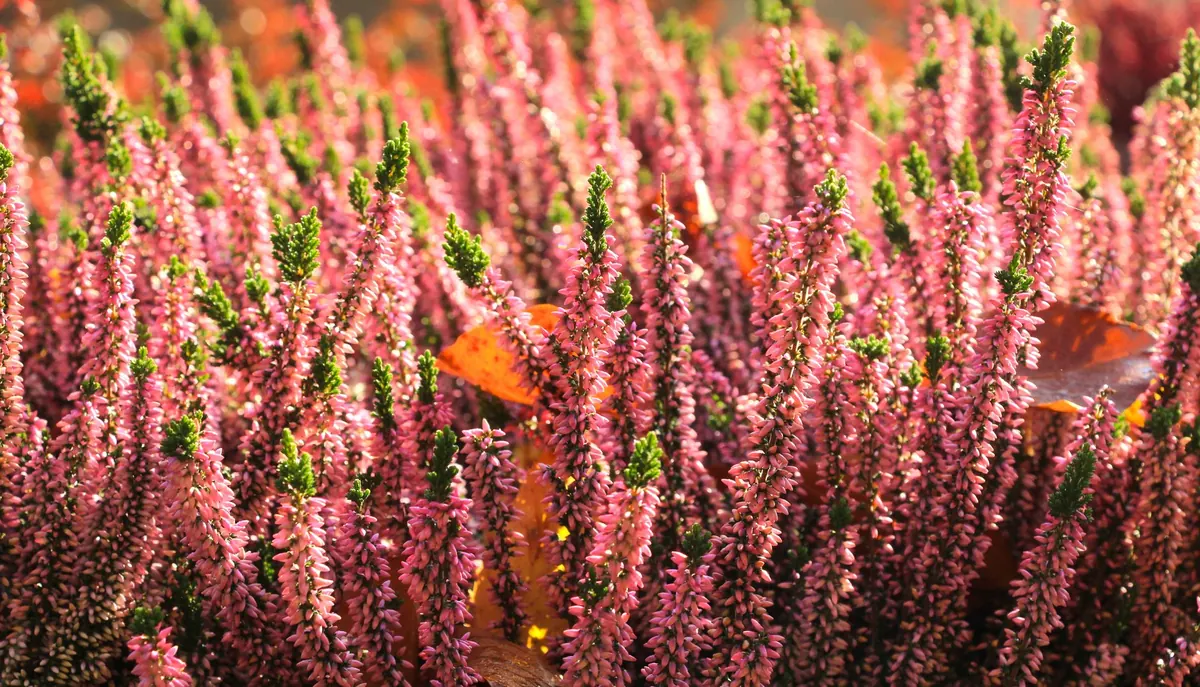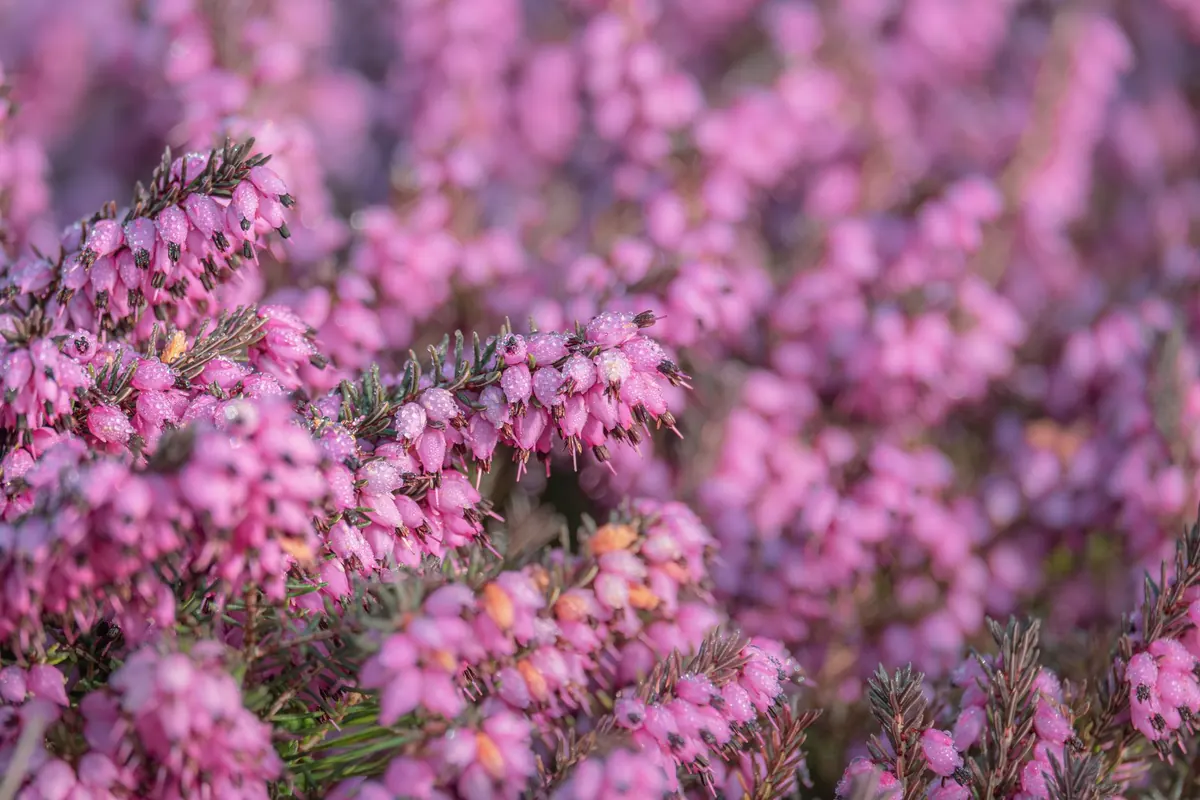
Heather has a reputation for being difficult, and it deserves better. Give it acid soil, open sun and sharp drainage, and it settles in with barely a murmur. What it will not forgive is being planted in the wrong spot, buried too deep, or left to dry out during its first summer. Get those three things right and you will have a patch that looks after itself for years.
Know What You're Planting First
Most heather sold in garden centres falls into three groups, and they behave a little differently.
- Calluna vulgaris — Scottish heather. Flowers from midsummer into autumn, comes in dozens of foliage colours from gold to near-black, and suits groundcover drifts.
- Erica — the winter and spring heaths, including the low, spreading Erica carnea and the taller tree heath, Erica arborea.
- Daboecia — Irish heath. Bigger bells, a long season, and slightly looser habit.
All of them want the same conditions: full sun, poor but free-draining ground, and soil on the acidic side. If your soil is neutral or limy, you can still grow heather, but you will be gardening in a raised bed or a container of ericaceous compost rather than straight into the border.
Choose a Spot With Sun and Air
Heather in shade grows thin, flops open in the middle and flowers poorly. Six hours of direct sun is the minimum; eight is better. Wind is not a problem — heathers on moorland take plenty of it — but standing water is fatal. Avoid the low corner of the garden where puddles linger after rain, and avoid spots where a downpipe dumps water onto the bed.
A south- or west-facing slope is close to ideal. Flat ground works well too, provided the drainage is open. If you are unsure, dig a hole about 30cm deep, fill it with water and watch how long it takes to drain. Still full after an hour? Plant in a raised bed instead.
Prepare the Soil Properly
This is the step most beginners skip, and it is the one that decides whether your heather thrives or sulks. Heather roots are fine, fibrous and shallow, sitting in the top 15cm or so of soil. They need air around them and they need acidity.
If your soil is already acid — you can check with a simple pH test kit — fork it over, remove perennial weeds, and you are nearly done. If it is neutral or alkaline, take these steps:
- Dig out the top 20–25cm of soil and set it aside for elsewhere.
- Replace it with a mix of ericaceous compost and coarse bark, roughly three parts compost to one part bark.
- If the ground below is heavy clay, put a 5cm layer of grit at the bottom of the excavated area before backfilling.
- Never add lime, mushroom compost or fresh manure. All three push the pH the wrong way.
Heathers feed themselves in poor ground. Rich soil makes them soft, leggy and short-lived.
Get the Spacing Right
Spacing depends on the mature spread on the plant label, not on how big the plant is now. As a working rule:
- Low carpeting callunas, spread around 30cm: plant 20–25cm apart for a quick knit.
- Medium varieties, spread 45–60cm: plant 35–45cm apart.
- Tree heaths and larger ericas: give each one 90cm or more, and treat them as shrubs rather than groundcover.
If you want a solid carpet within two seasons, plant closer than the final spread and thin the patch later. If you would rather see individual plants, space them at their full spread and mulch the gaps with bark.
Planting Potted Heather, Step by Step
- Water the pot an hour before planting so the rootball holds together.
- Dig a hole twice as wide as the pot and the same depth — no deeper.
- Slide the plant out and tease the outer roots loose with your fingers. If they are wound tightly around the ball, make three or four shallow vertical cuts with a knife.
- Set the plant in so the top of the rootball sits level with the surrounding soil. This is the point beginners get wrong. Bury the crown and the stem rots.
- Backfill with the excavated mix, firming gently with your knuckles as you go.
- Water in until the ground around the roots is thoroughly soaked, then mulch with 5cm of composted bark, keeping it clear of the stems.
Planting Bare-Root Heather
Bare-root bundles arrive in the dormant season, usually between late autumn and early spring, with the soil shaken off the roots. They dry out fast, so deal with them the day they arrive. Stand them in a bucket of rainwater for half an hour, then plant immediately.
Make a shallow trench rather than individual holes. Build a small mound of soil in the base, spread the roots over it like a fan, and work fine soil gently between them. Set the plants so the old soil mark on the stem is just at surface level, firm, and water well. A bare-root heather that dries out on day one rarely recovers.
Watering and the First Year
Newly planted heather needs steady moisture, not a daily sprinkle. Water deeply once or twice a week in dry weather — enough to soak the top 15cm — and let the surface dry slightly between waterings. A light daily spray only wets the top centimetre and encourages weak surface rooting.
In hard-water areas, rainwater from a butt is worth the effort for the first season. Tap water is often alkaline and repeated use will slowly push the pH in the wrong direction.
Once established, usually by the second summer, most heathers are genuinely drought-tolerant and need water only in long dry spells. Feed lightly, if at all. A handful of ericaceous fertiliser in early spring is plenty; overfeeding causes floppy growth that splits in winter.
Mistakes to Avoid
- Planting into ordinary multipurpose compost in an alkaline border.
- Setting the crown below soil level.
- Mulching right up against the stems.
- Planting in midsummer heat or onto frozen ground — autumn and early spring are the reliable windows.
- Skipping water in the first summer because heather "looks tough".
A Planting Plan You Can Repeat
Work in groups of five or seven plants of the same variety rather than scattering singles. Prepare the whole bed before you take a single plant out of its pot, water everything in the same afternoon, and mark the patch so you remember not to hoe it. Then leave it alone. Heather does its best work when it is left to knit together, and by the second autumn you will have colour on the ground from October through to spring.
Photo: markusspiske / Pixabay